Hi @blairrocks,
We totally dropped the ball here but I’ll answer so others can benefit.
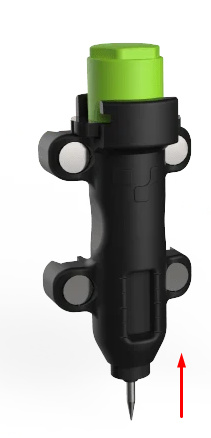
As part of the switch calibration sequence, we measure how much the probe tip can compress. Meaning, how far the steel tip at the bottom of the probe can travel upwards before bottoming out.

The acceptable range is between 50 and 500 microns. When they leave our facility the displacement is around 300 microns, but sometimes during shipping or regular handling the internals of the probe may shift and the displacement will fall out of tolerance. When this happens you will get the following error:
Unable to measure probe displacement, the triggering position of the probe could not be measured (measurement 2 of 2)
The wording is a bit misleading. It means the V-One tried to measure the displacement but could not get a value. Typically this means that displacement is large, much larger than 500 microns.
Unfortunately there is no easy quick fix for this. It’s a pain to disassemble and adjust the probe so if this happens to you just contact support via the in-app chat and we’ll sort it out.